1.1 The subfloor shall be flat and dry without visible unevenness, substrate must be free of moisture, if not, made it dryprior to installation.
1.2 Before installation, remove all the dust and other extraneous coatings.
1.3 During the installation, the ambient temperature should be at about 25℃.
1.4 Please refer to Vinyl Tile Installation Information for more details.
Tools
2.1 Utility knife, notched trowel
2.2 Rubber hummer, about 60 kgs weight
2.3 Scraper blade, for spreading the adhesives
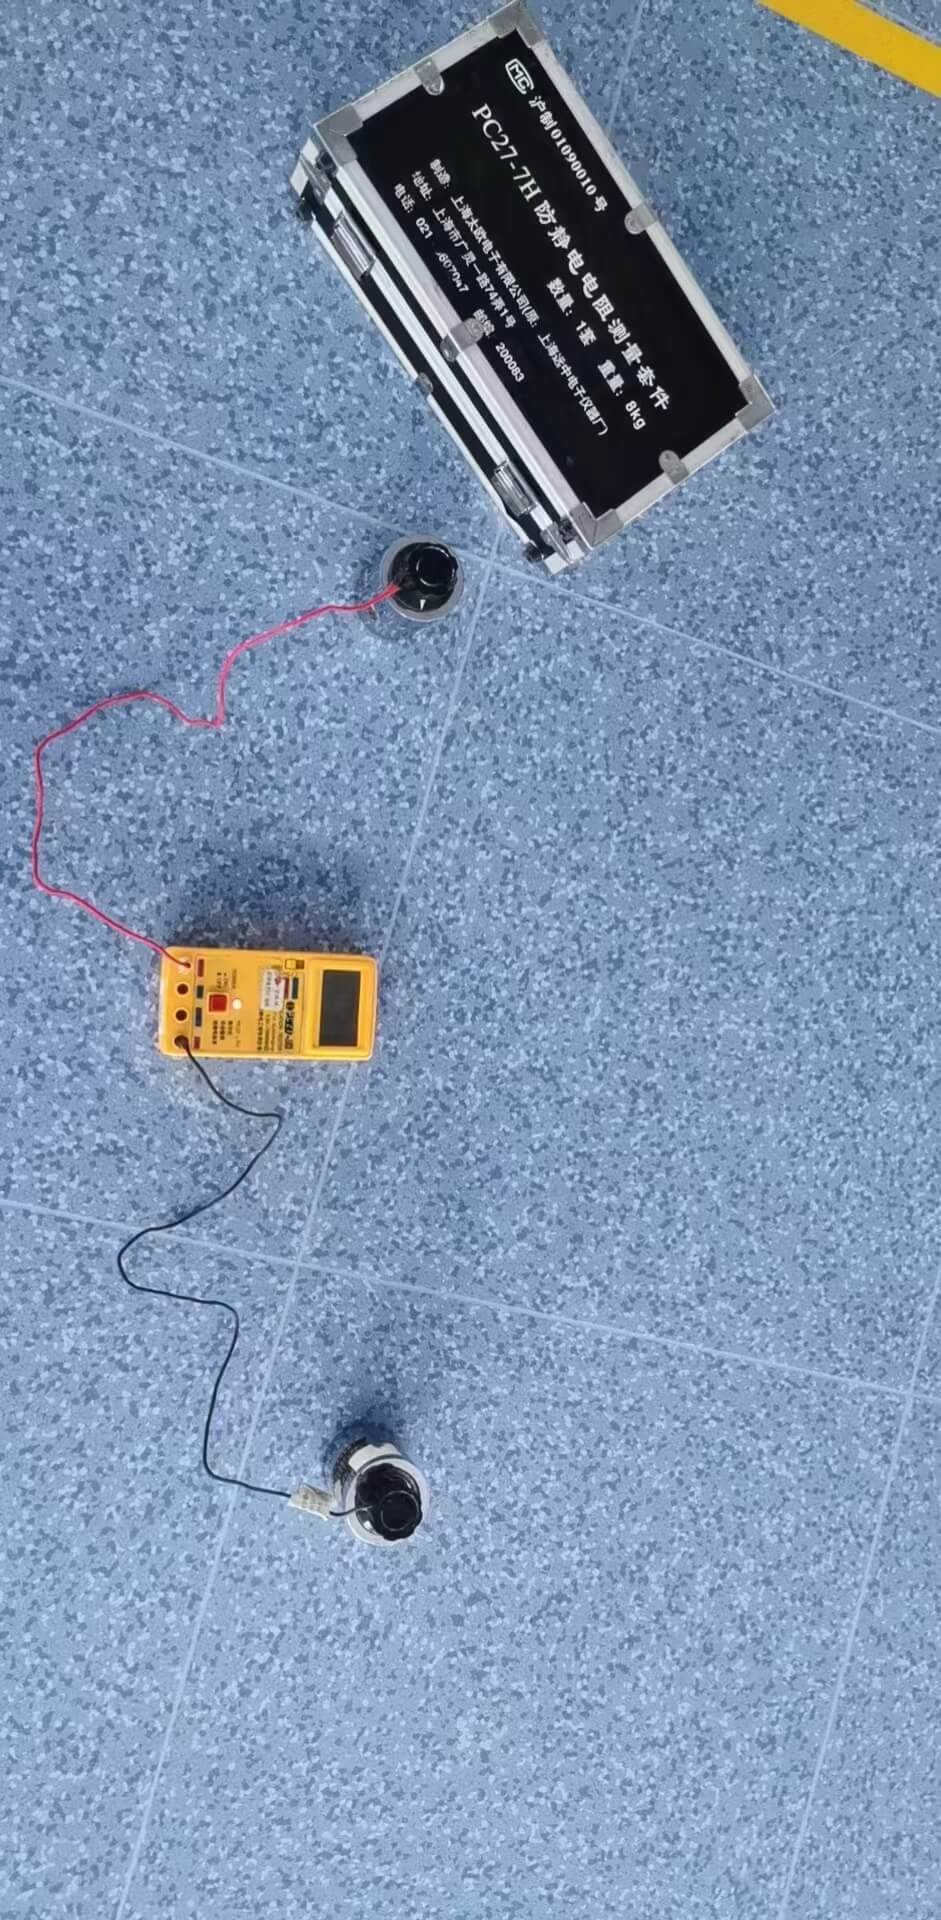
2.4 megaohm meter, for test the conductivity
Materials
2.5 Conductive tiles: PVC conductive tiles
2.6 Certificate: We manufacture with the standard of ISO 9002
2.7 Adhesive: Conductive adhesive
2.8 Protection wax: Conductive wax
2.9 Copper foil: Thickness of 0.05 – 0.15mm and the breadth of 20 – 30mm
2.10 Industrial grade alcohol
Find the center of the room with measures. Draw a vertical halving cross at the center
4.1 Confirm the subfloor is clear and dry for installation
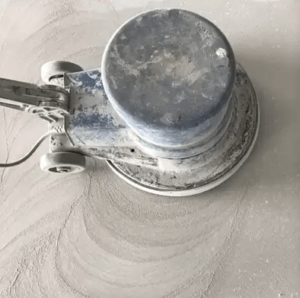
4.2 Lay the copper foil network
4.2.1 Paste the copper foils onto the subfloor to form the network with neoprene adhesive. Spread the adhesive to thebreadth of 35mm. Paste the foils after the adhesive doesn’t stick the hands. The conductive glue shall be applied at the nodes of the foils to ensure the conductivity.
4.2.2 Gauge the resistance between neighboring copper foils. The value should be lower than 10²Ω, or the foils
must be re-pasted to ensure that each point is conductive to the subfloor.
4.2.3 At lest 4 points of the pasted copper foil network should be connected to the ground wire.
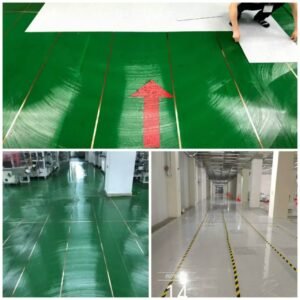


4.3 Spread the neoprene adhesive evenly on the subfloor with notched trowel (1mm flat x 2mm deep x 4.5mm open), place the tiles aside until they get dry.
4.4 Start to coat a little conductive glue on the copper foils from the center of subfloor. The spaces should be similar with the size of the tile to ensure that at least one point on the back of the tile is glued with the glue-coated foils.
4.5 Lay the tiles after the adhesive on the subfloor and the back of the tiles gets touch dry. The initial position of the laying should be the center of the room.
4.6 Make sure that the copper foils are pasted in the middle of the tiles.
4.7 Gauge the resistance between the surface of tiles and the subfloor regularly during the laying.The resistance range shall be 105 Ω–108 Ω,and-replace the tiles if value exceeds this range.
4.8 Scrape the air and gas under each tile immediately with scraper blade after it was laid.
4.9 During and after the installation, roll and cross roll each tile at lease twice with rubber hummer during the pasting to ensure they are tightly glued till the end of the laying.
4.10 If some portions were failured in bond due to weather or other reasons, then the tiles should be heated slightly to
ensure they were bonded tightly.



4.11 The surface of the tiles should be cleaned and treated with static wax after the laying.
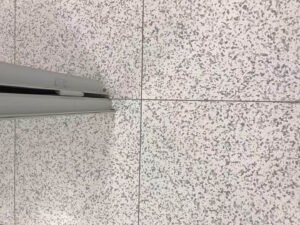

5.1 Avoid scraping when placing the weight matters on the floor. The contact area shall not be small, and underlay wood blocks when necessary.
5.2 Don’t wear shoes with metal nails when welding on the floor. Don’t scrape or peen the floor with sharp or hard things.
5.3 Clean the floor with squeezed wet mop frequently. Use the solvent such as detergent and alcohol when necessary.
5.4 Waxen the floor regularly to maintain its luster.
5.5 Do not use any other types of wax except our special wax. Use a piece of cloth been dipped with neutral cleanser instead of any volatile cleanser.
6.1 The contractor offer manufacturer’s certificate for check & acceptance.
6.2 There are no air bubbles and uncoating parts on the surface.
6.3 The resistance range of the surface of the tiles should be 105Ω–108Ω.
6.4 There should be no obvious pollution during the installation.
6.5 The juncture displacement between two neighboring tiles shall not exceed 2 mm.
6.6 Others should perform according to the contract and quality standard of conductive tile.

7.1 Adhesive: Use conductive glue
7.1.1 The black adhesive contains conductive carbon power
7.1.2 The adhesive should be spread evenly on the subfloor
7.1.3 Lay the tiles approximately 10 – 15 minutes after the adhesive were spread and bonding strength were enhanced (Subject to the weather and installation site)
7.1.4 Amend immediately if not satisfied during the installation, the adhesive will become extremely hard after it’s indurative
7.2 Lay the foils
7.2.1 The copper foils with thickness of 0.1mm and breadth of 20mm
7.2.2 The installation method is similar to common vinyl tile
7.2.3 The foils should become a circle along the wall of the room with the beginning connected with the end. The center point of the parallel foils should be linked and form a symbol like “田”
7.3 Link to the ground
7.3.1 The end of the foil should be connected with the rod of the building
7.3.2 Also it can be connected with the third hole of a 220V electrical outlet (round in shape)
7.3.3 It’s better to use 2 junctures with a 40 – 50 square meters room
Phone: 008613515278477
Address: No. 2, Xuehong Road, Xueyan Town, Wujin District, Changzhou City, Jiangsu Province
Email: 13515278477@163.com